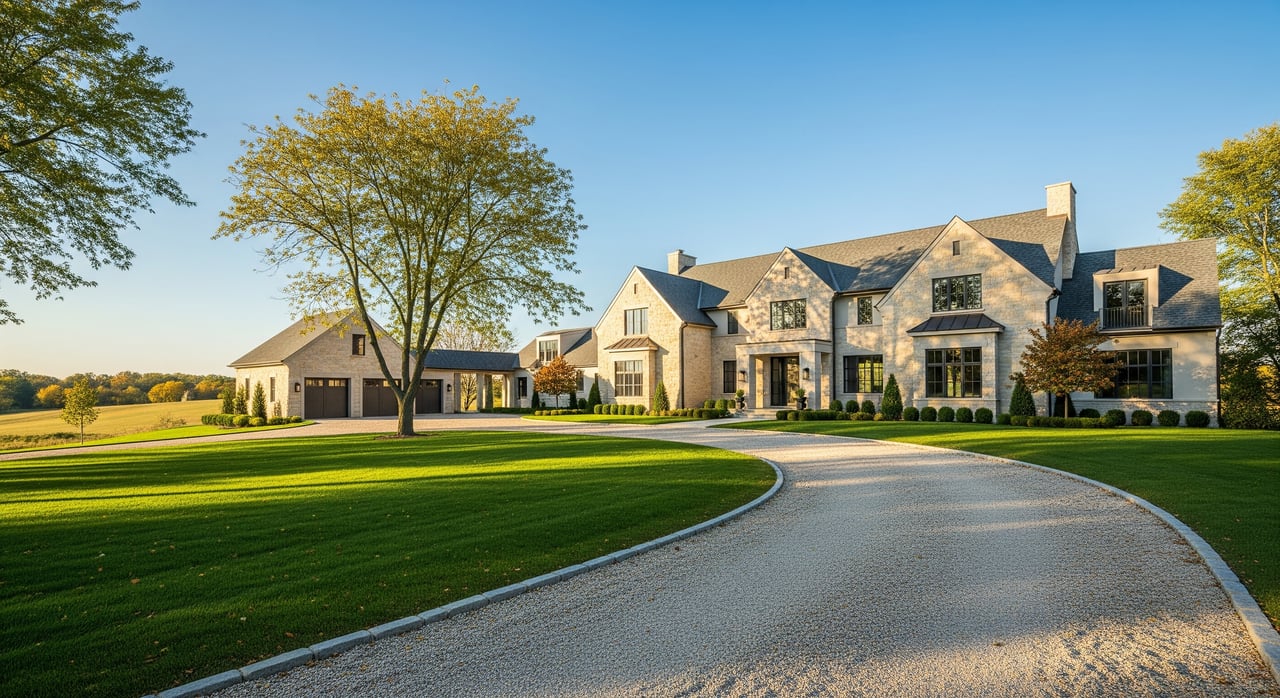
Thinking about a new deck, privacy fence, or backyard pool in Cottage Grove? The permit process can feel like a maze when all you want is to build safely and get the most from your yard. You want clear steps, realistic timelines, and fewer surprises. In this guide, you’ll learn what the Village looks for, which drawings and documents to prepare, when inspections happen, and how to keep your project on schedule from start to finish. Let’s dive in.
Cottage Grove permitting at a glance
Cottage Grove’s building and zoning staff are your primary contacts for residential permits, reviews, and inspections. Local inspectors apply Wisconsin’s Uniform Dwelling Code and look to common International Residential Code references for technical minimums. Dane County may also be involved if your lot sits in a shoreland or floodplain overlay.
Who to contact first:
- The Village permit technician or building inspector for pre-application questions and portal access.
- The zoning administrator if your fence or pool is near a lot line, an easement, or on a corner lot.
- Utility locators before you dig. Call Diggers Hotline to mark underground lines prior to any excavation.
Your permit path step by step
Step 0: Pre-check
Before you start a permit application, verify zoning setbacks, utility or drainage easements, and any shoreland or floodplain overlays that might affect your site. If you live in an HOA, review any added design rules. If your lot is in a county overlay, ask whether Dane County needs to review your plans.
Step 1: Create your account and choose the permit type
Use the Village’s e-permit portal to set up your account. Select the correct application type: deck permit, fence or accessory structure permit, swimming pool permit, and often a separate electrical permit for pool pumps or lighting.
Step 2: Complete the forms
Enter your project address, contact information, estimated valuation, and a short project description. Indicate whether this is new work, a replacement, or a repair.
Step 3: Upload your plans and pay fees
Upload a site plan and clear drawings that show dimensions, locations, setbacks, and construction details. Include your contractor’s license information or a homeowner affidavit if you are eligible to do the work yourself. Pay the required fees online.
Step 4: Village review
Your submittal will be reviewed by the building official and zoning administrator. They check setbacks and easements, structural details like ledgers and footings, pool barrier plans, and electrical for pools. Initial review typically takes 3 to 14 business days, depending on staffing and how complete your files are.
Step 5: Permit issuance
Once approved, you’ll receive a permit and stamped drawings. Print and post the permit where it’s visible from the street or at the work area. Keep the approved drawings on site for inspections.
Step 6: Inspections
Schedule inspections through the portal or by phone. Inspectors will approve or note corrections. Fix any issues and request a reinspection if needed. Common sequences for each project type are listed below.
Step 7: Final and close-out
After you pass the final inspection, the permit is closed. Keep a copy of the permit and final approvals for your records and for future resale disclosures.
What to include in your plans
Complete, readable plans speed up approvals. Aim for simple, clear drawings rather than fancy graphics. A clean labeled site plan often makes the biggest difference.
All projects: core documents
- Completed permit application.
- Scaled site plan that shows lot lines, home footprint, driveway, project location, and distances to property lines. Mark any septic tank or well locations and public utility easements.
- Contractor license and insurance or homeowner affidavit when allowed.
- Photos that clarify site conditions or attachment points.
Decks: drawings and details
- Plan view and elevation with overall dimensions and height above grade at the highest point.
- Footing plan that notes size and depth of each pier or concrete footing, including below-frost placement.
- Ledger attachment detail with fastener size and spacing plus flashing at the house connection.
- Joist sizing and spacing, beam sizes, connector types, and span notes.
- Post sizes with post-to-beam, post base, and anchor details.
- Stair and guard details showing riser and tread dimensions, handrail height and grip, guard height, and baluster spacing.
- Materials list noting pressure-treated lumber and corrosion-resistant fasteners.
Fences: drawings and details
- Site plan showing fence alignment relative to property lines, structures, and easements.
- Heights and materials for each segment, especially near streets or corners.
- Gate locations and latch type. If a pool is present, show how gates meet pool barrier rules.
- Notes about boundary surveys or survey pins if the location is tight.
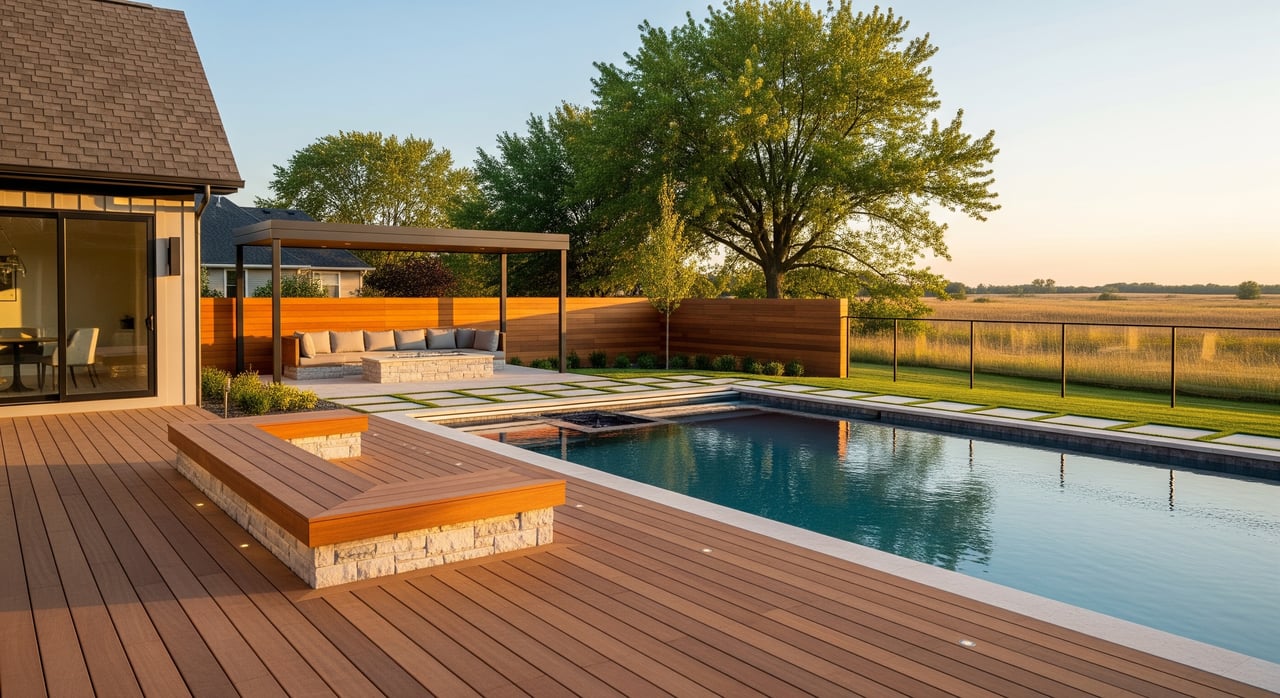
Pools: drawings and details
- Site plan showing pool outline and distances to your house, property lines, septic system, well, and any overhead or underground utilities.
- Pool type, size, depth, decking or patio areas, and equipment location.
- Barrier plan: fence height, gate locations, self-closing and self-latching hardware, latch height, and how access is controlled.
- Electrical plan for pumps and lights with GFCI protection, wiring routes, and bonding or grounding details. Indicate that a licensed electrician will perform this work and that a separate electrical permit will be submitted if required.
- Notes on suction entrapment protection and compliant drain covers.
Documents the Village may request
- A survey or stamped site plan if your project is close to a lot line or an easement.
- Manufacturer specifications for prefabricated pools or fencing systems.
- Signed contractor information and proof of insurance when a contractor is listed as permit holder.
Inspection stages and common pitfalls
Getting inspections right the first time keeps your schedule on track. Here are the typical inspection stages and the issues that most often cause delays.
Deck inspections
- Footing or pier inspection before concrete is poured. The inspector checks depth, size, placement, and reinforcement if required. Common failures include shallow footings that do not extend below the frost line, undersized diameters, missing forms or rebar, and locations that differ from the approved plan.
- Framing and ledger inspection before decking is installed. Inspectors look for proper ledger fasteners, flashing, joist hangers, beam connections, and post anchorage. Common failures include nails used where lag screws or bolts are required, missing flashing, missing metal connectors, and posts not anchored per plan.
- Stair and guard inspection prior to final. Common failures include guard height below the minimum, baluster openings wider than allowed, handrails missing or too low, and inconsistent stair risers.
- Final inspection for overall stability and proper connection to the house. Common failures include unresolved earlier items and missing documents onsite.
Fence inspections
- Location and footing inspection when posts are set in concrete. Inspectors verify setbacks, easements, and post depth. Common failures include building inside a utility easement, posts too shallow, or obstructing corner vision triangles.
- Final inspection for pool-related fences. Inspectors check gate function and latch height. Common failures include non-self-closing gates or gaps under the fence that allow child access.
Pool inspections
- Excavation and barrier pre-fill for in-ground pools. Inspectors confirm that a compliant barrier is in place or a temporary barrier prevents access. Common failures include gates that are not self-closing or latching and barrier heights that do not meet minimums.
- Electrical inspection for pumps and lighting. Inspectors verify GFCI protection, bonding and grounding, and proper conduit or wiring. Common failures include missing GFCI protection, improper bonding, or unlicensed electrical work where a license is required.
- Final inspection for the pool structure, deck, equipment operation, barrier compliance, and required safety features. Common failures include missing drain covers and ongoing barrier issues.
Failure triggers to avoid across all projects
- Building off plan so distances to property lines or easements do not match the approved site plan.
- Ledger connection errors on decks.
- Footings not below frost depth or improperly sized.
- Using fasteners that are not corrosion-resistant with treated lumber.
- Not posting the permit onsite where inspectors can see it.
- Doing pool electrical work without a separate electrical permit or a licensed electrician.
Key code minimums to check
Cottage Grove follows state residential code standards. Verify the following design minimums with Village staff during plan review:
- Deck guard height typically at least 36 inches for residential.
- Guard and handrail openings small enough to prevent the passage of a 4-inch sphere.
- A guard is typically required when a deck walking surface is more than 30 inches above grade.
- Typical stair limits use a maximum riser of 7 3/4 inches and a minimum tread depth of 10 inches.
- Pool barriers often require a minimum 4-foot height with self-closing, self-latching gates.
- Frost depth in southern Wisconsin is commonly around 36 inches, so footings usually must extend below that depth.
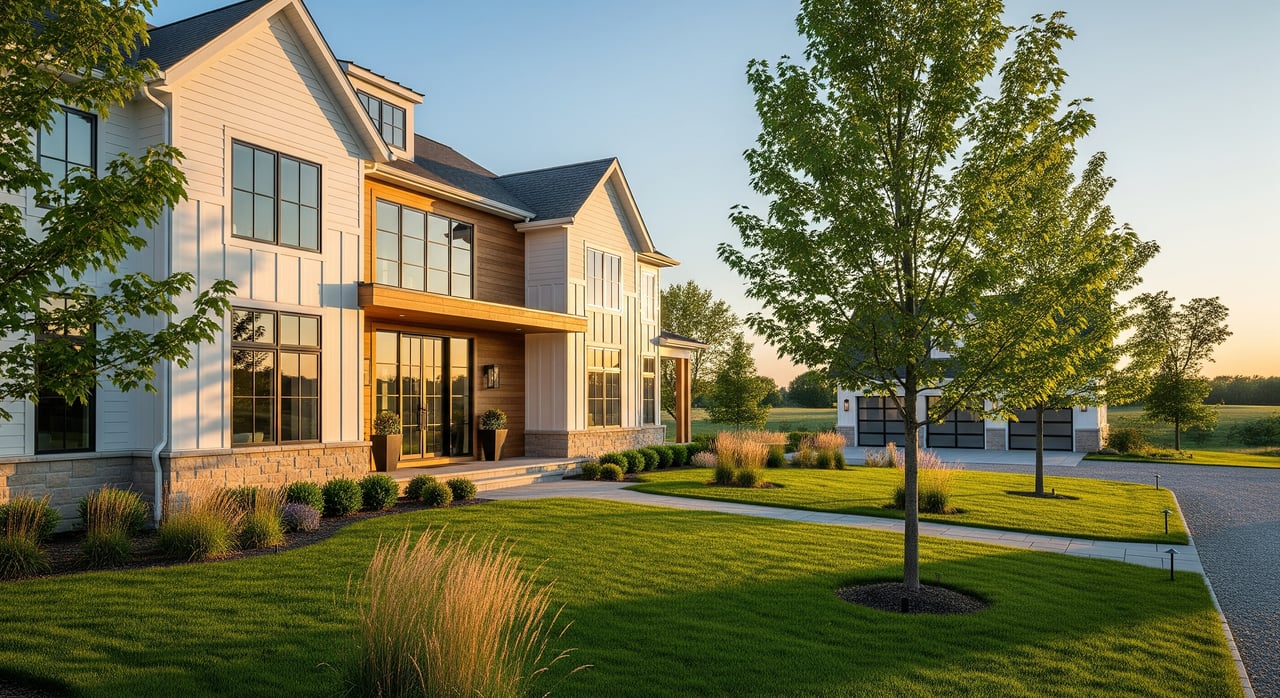
Zoning, setbacks, and overlays
Zoning rules shape where you can build and how close you can get to lot lines. Corner lots often have added vision triangle restrictions. Pools, decks, and fences must avoid public utility and drainage easements. If your property sits near a water body, shoreland, floodplain, or wetland overlays may trigger county or additional reviews. HOAs may add design controls or placement rules. Confirm these layers early to save time.
Timelines, fees, and staying on schedule
Simple, complete applications for decks or fences are often reviewed within a few business days, though staffing and seasonal volume matter. Complex projects or those needing zoning variances take longer. Inspections can sometimes be scheduled for the next day, but planning a 2 to 7 day window in busy periods is smart. Re-submittals for missing details can add days or weeks.
Fees vary by permit type and project valuation. Electrical permits for pool equipment are usually separate and carry their own fees. Ask the permit office how they calculate fees for your scope.
Project speed checklist
- Call the Village permit office for a quick pre-application check and portal guidance.
- Submit a clear, labeled site plan with measured distances to property lines and easements.
- Specify corrosion-resistant fasteners in your deck plans.
- Have your contractor upload license and insurance documents with the application.
- Post the permit in a visible location and include a contact phone number on it.
- Schedule inspections early and have required elements exposed for the inspector.
Permit-smart pro tips
Pre-submit a concise question to the permit tech to confirm any unclear detail, like a ledger connection or pool barrier latch height. A quick answer can prevent a rework cycle.
Work with a licensed contractor who knows Cottage Grove’s process. Familiarity with local reviews and inspections often shaves days off your timeline.
Book inspections ahead of time, especially footing and framing checks. Try to stack related inspections within the same week to keep crews moving.
Keep the site safe and accessible. Clear access and visible permits help inspectors do their work quickly.
If your plan is close to a lot line, consider a boundary survey or a stamped site plan to avoid location disputes.
Ready to build in Cottage Grove?
With a complete site plan, solid construction details, and timely inspections, your deck, fence, or pool can move from idea to finished project with fewer delays. Use the steps and checklists above to organize your submittal and keep work flowing. If you’re planning improvements as part of getting ready to sell or you want to understand which upgrades add value in Cottage Grove, connect with a local advisor who understands both construction and the market. For practical, client-first guidance in Dane County, contact Unknown Company to get your free home valuation and talk through next steps.
FAQs
Do I need a permit for a small deck under 200 square feet in Cottage Grove?
- Many municipalities require permits for most new elevated decks regardless of size. Confirm with the Village, since even small decks commonly need a building permit and footing inspection.
Are above-ground pools allowed without a permit in Cottage Grove?
- If the water depth is over a defined threshold, a permit and a compliant barrier are often required. Check Cottage Grove’s permit thresholds and plan for self-closing, self-latching gates.
How deep do deck footings need to be in Cottage Grove?
- Footings generally must extend below the frost line. In southern Wisconsin, that depth is commonly around 36 inches. Confirm the required depth with the Village inspector.
Can I put a fence directly on my property line in Cottage Grove?
- Fences near property lines are typically allowed if they meet zoning setbacks and do not conflict with easements. Corner lots may have added vision triangle limits. A boundary survey is wise if tolerances are tight.
Who should I call before digging fence posts or a pool?
- Contact utility locators through Diggers Hotline before any excavation, and coordinate with the Village permit office for inspection scheduling and safety requirements.
Do I need a licensed electrician for pool pumps and lights?
- Electrical work for pools often requires a separate electrical permit and must be performed by a licensed electrician. The work is inspected for GFCI protection, bonding, and grounding.